Set up documents and communications
This quickstart adds an agreement document, an approval email, and an approval SMS to a lending product, then uses them from an application.
- For
- Product administrators preparing documents and customer communications for origination.
- Requires
- A lending product, product-template permissions, and the enabled document, email, and SMS integrations from Set up integration partners.
- Available when
- The product shows Document Templates, Email Templates, and SMS Templates.
- Before you begin
- Prepare organisation-approved wording, safe recipients, and an application containing representative synthetic data.
- Expected result
- The agreement generates with resolved application data, and the approval email and SMS are sent through the selected providers.
| Quickstart point | This run |
|---|---|
| Estimated time | 30–45 minutes, excluding provider delivery time and approval of wording. |
| Starting state | The product and required integrations exist and are enabled. |
| Finish state | The product contains the three templates and a user can generate or send each one from an application. |
Templates belong to the product rather than one product version. Updating a template changes later output; it does not alter documents or messages already stored.
Workflow
Confirm the application data paths
- Open Administration → Products and select the lending product.
- In Document Templates, select Preview Data.
- Enter a synthetic application reference and reload the preview, or use the generated sample.
- Find the exact keys for the values required by the agreement. The downloadable sample uses the core paths
quoteNr,issueDate, and thepaymentSchedulecollection withinstallmentNr,dueDate, andamount. - Copy the preview when it helps you compare the data with the source document.
Finsaku placeholders are enclosed by double curly brackets: {{ and }}. A regular field therefore appears as {{quoteNr}}. A collection loop begins with {{#paymentSchedule}} and ends with {{/paymentSchedule}}; fields inside the loop are relative to the current item. Use the exact keys shown by Preview Data, including their casing.
For background on fields, loops, and tables, see DocuGenerate's merge-tag guide.
Upload the agreement
Download the Finsaku sample loan agreement. It contains regular fields and a repeated repayment-schedule row. Replace the sample wording with the organisation's approved agreement before using it.
- In Document Templates, select Add Template.
- Choose the agreement DOCX and enter Loan agreement as the Template name.
- Select Upload. The named template should appear in the product section.
- If your product's Preview Data uses different or additional paths, update the source document and upload it again before generation.
Add the approval email
Use the application Email Templates section because approval occurs before Lend creates the loan. The corresponding loan section is for messages sent after lending.
- Select Add Template.
- Enter Application approved as the Name.
- Add an approved subject and message. Insert changing values only with paths confirmed in the application preview, for example
Application {{quoteNr}} has been approved. - Under Generate and Attach, select Loan agreement.
- Select Add, then reopen the template and confirm the subject, message, and attachment selection.
The agreement is generated from current application data when this email is prepared.
Add the approval SMS
- In the application SMS Templates section, select Add Template.
- Enter Application approved SMS as the Name.
- Enter concise approved text, for example
Application {{quoteNr}} has been approved. - Select Add and reopen the template to confirm the saved text.
The 160-character guide appears when the SMS is prepared. Substituted values and character encoding can change the final length and provider segmentation.
Generate and send from an application
Open the synthetic application in Workspace and confirm that its visible values match the template scenario.
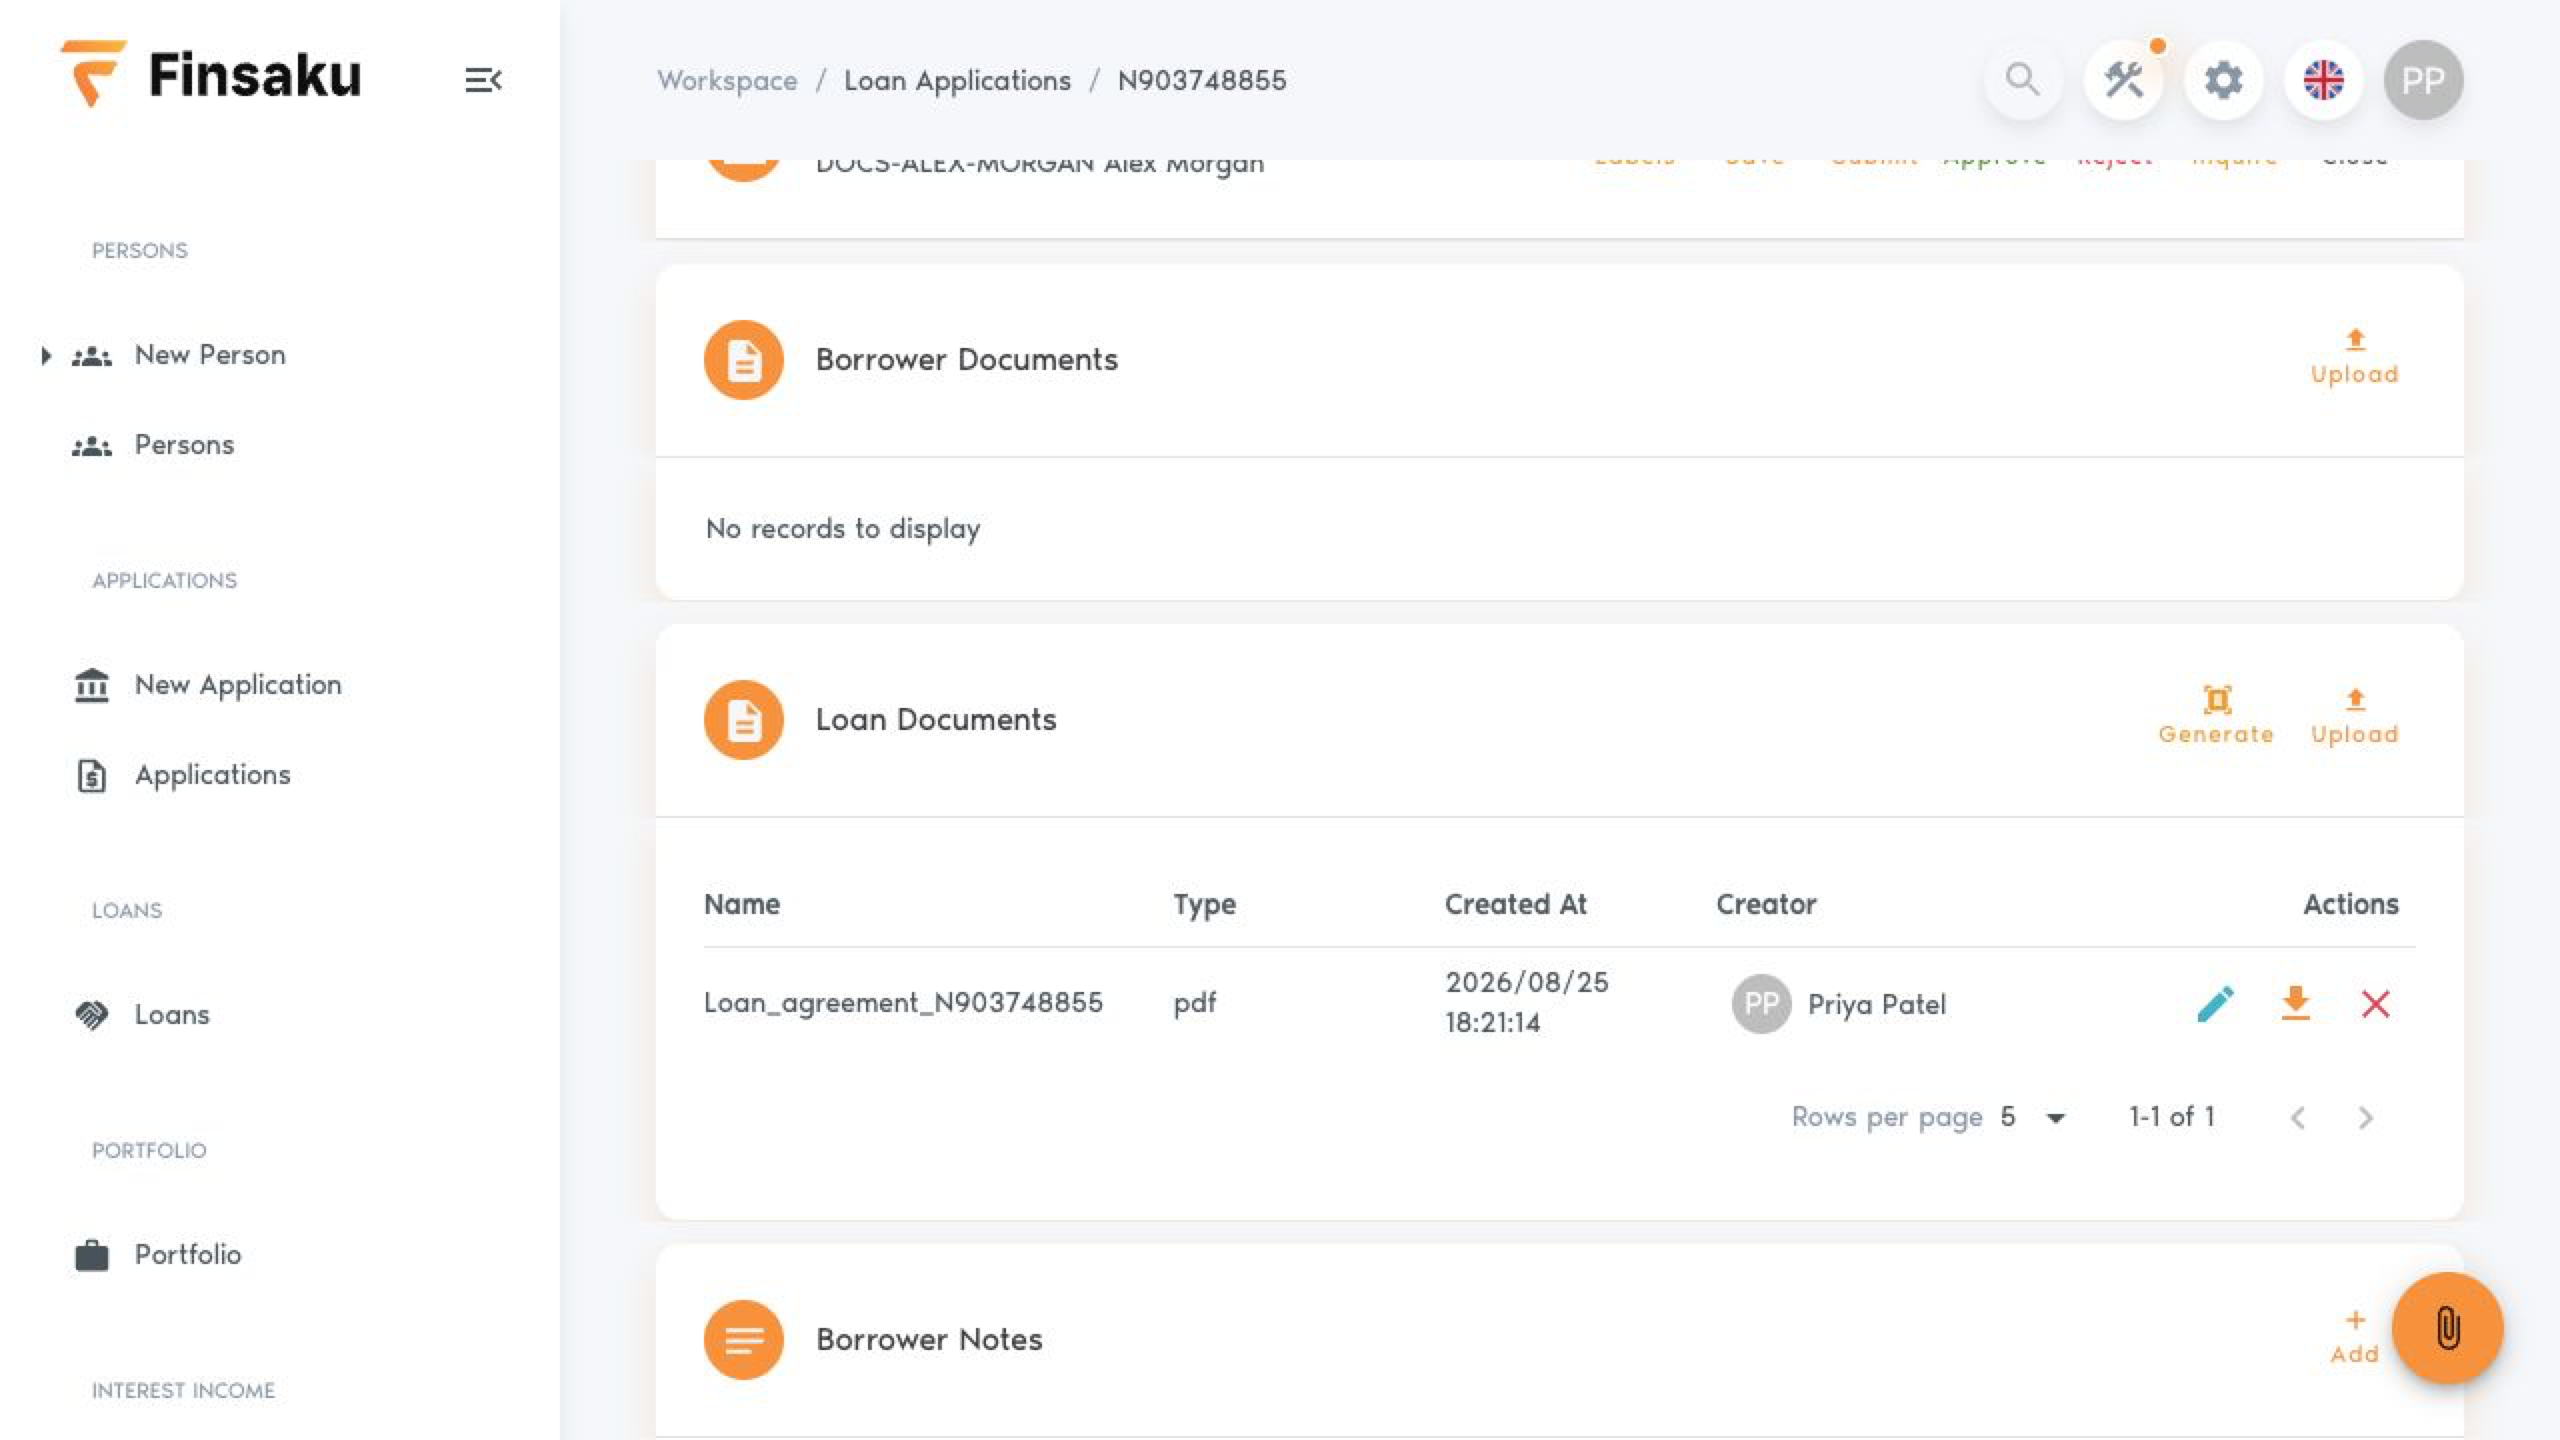
- Select Generate Document, choose Loan agreement and PDF or DOCX, and choose the attach option when the file must remain on the application. Select Generate. Open the result and check that the application reference, date, and repeated schedule rows are resolved and the generated file is visible under the application's documents.
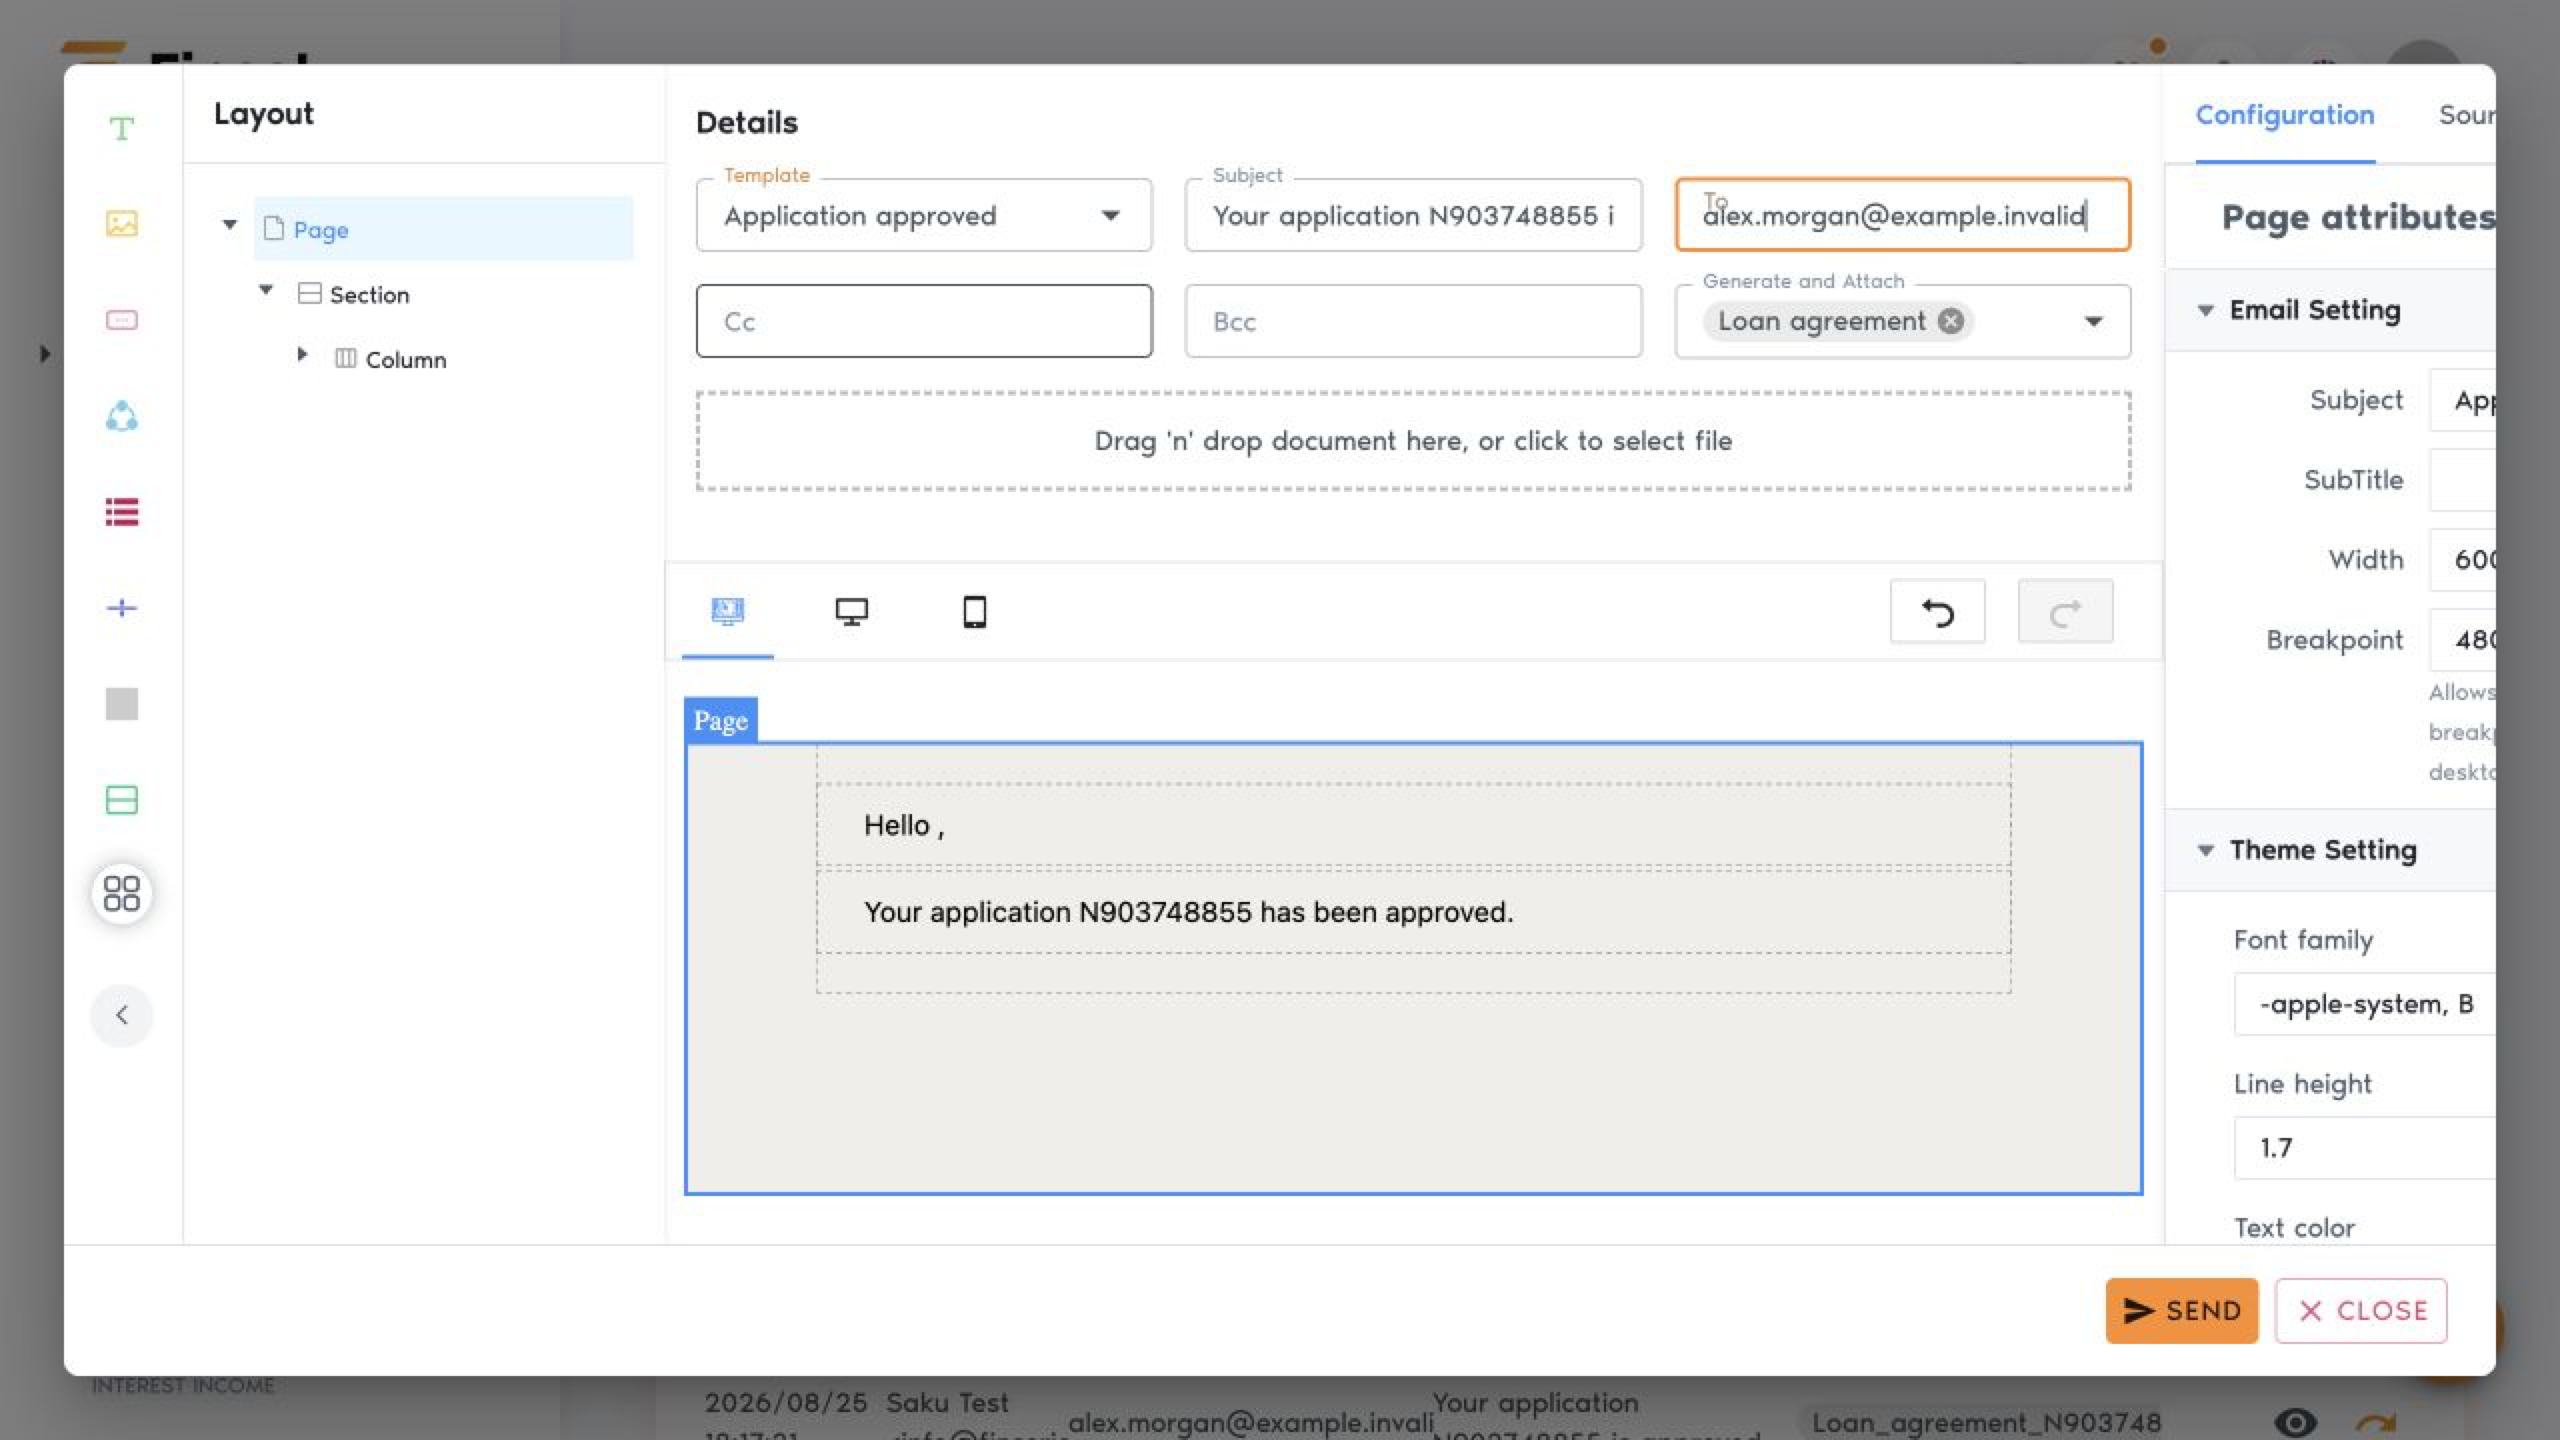
- Select Send Email, choose the enabled email provider and Application approved template, confirm the synthetic recipient, resolved subject, message, and Loan agreement attachment, then select Send once. A successful submission closes the form and the email appears in the application's communication history; provider delivery evidence remains with the provider.
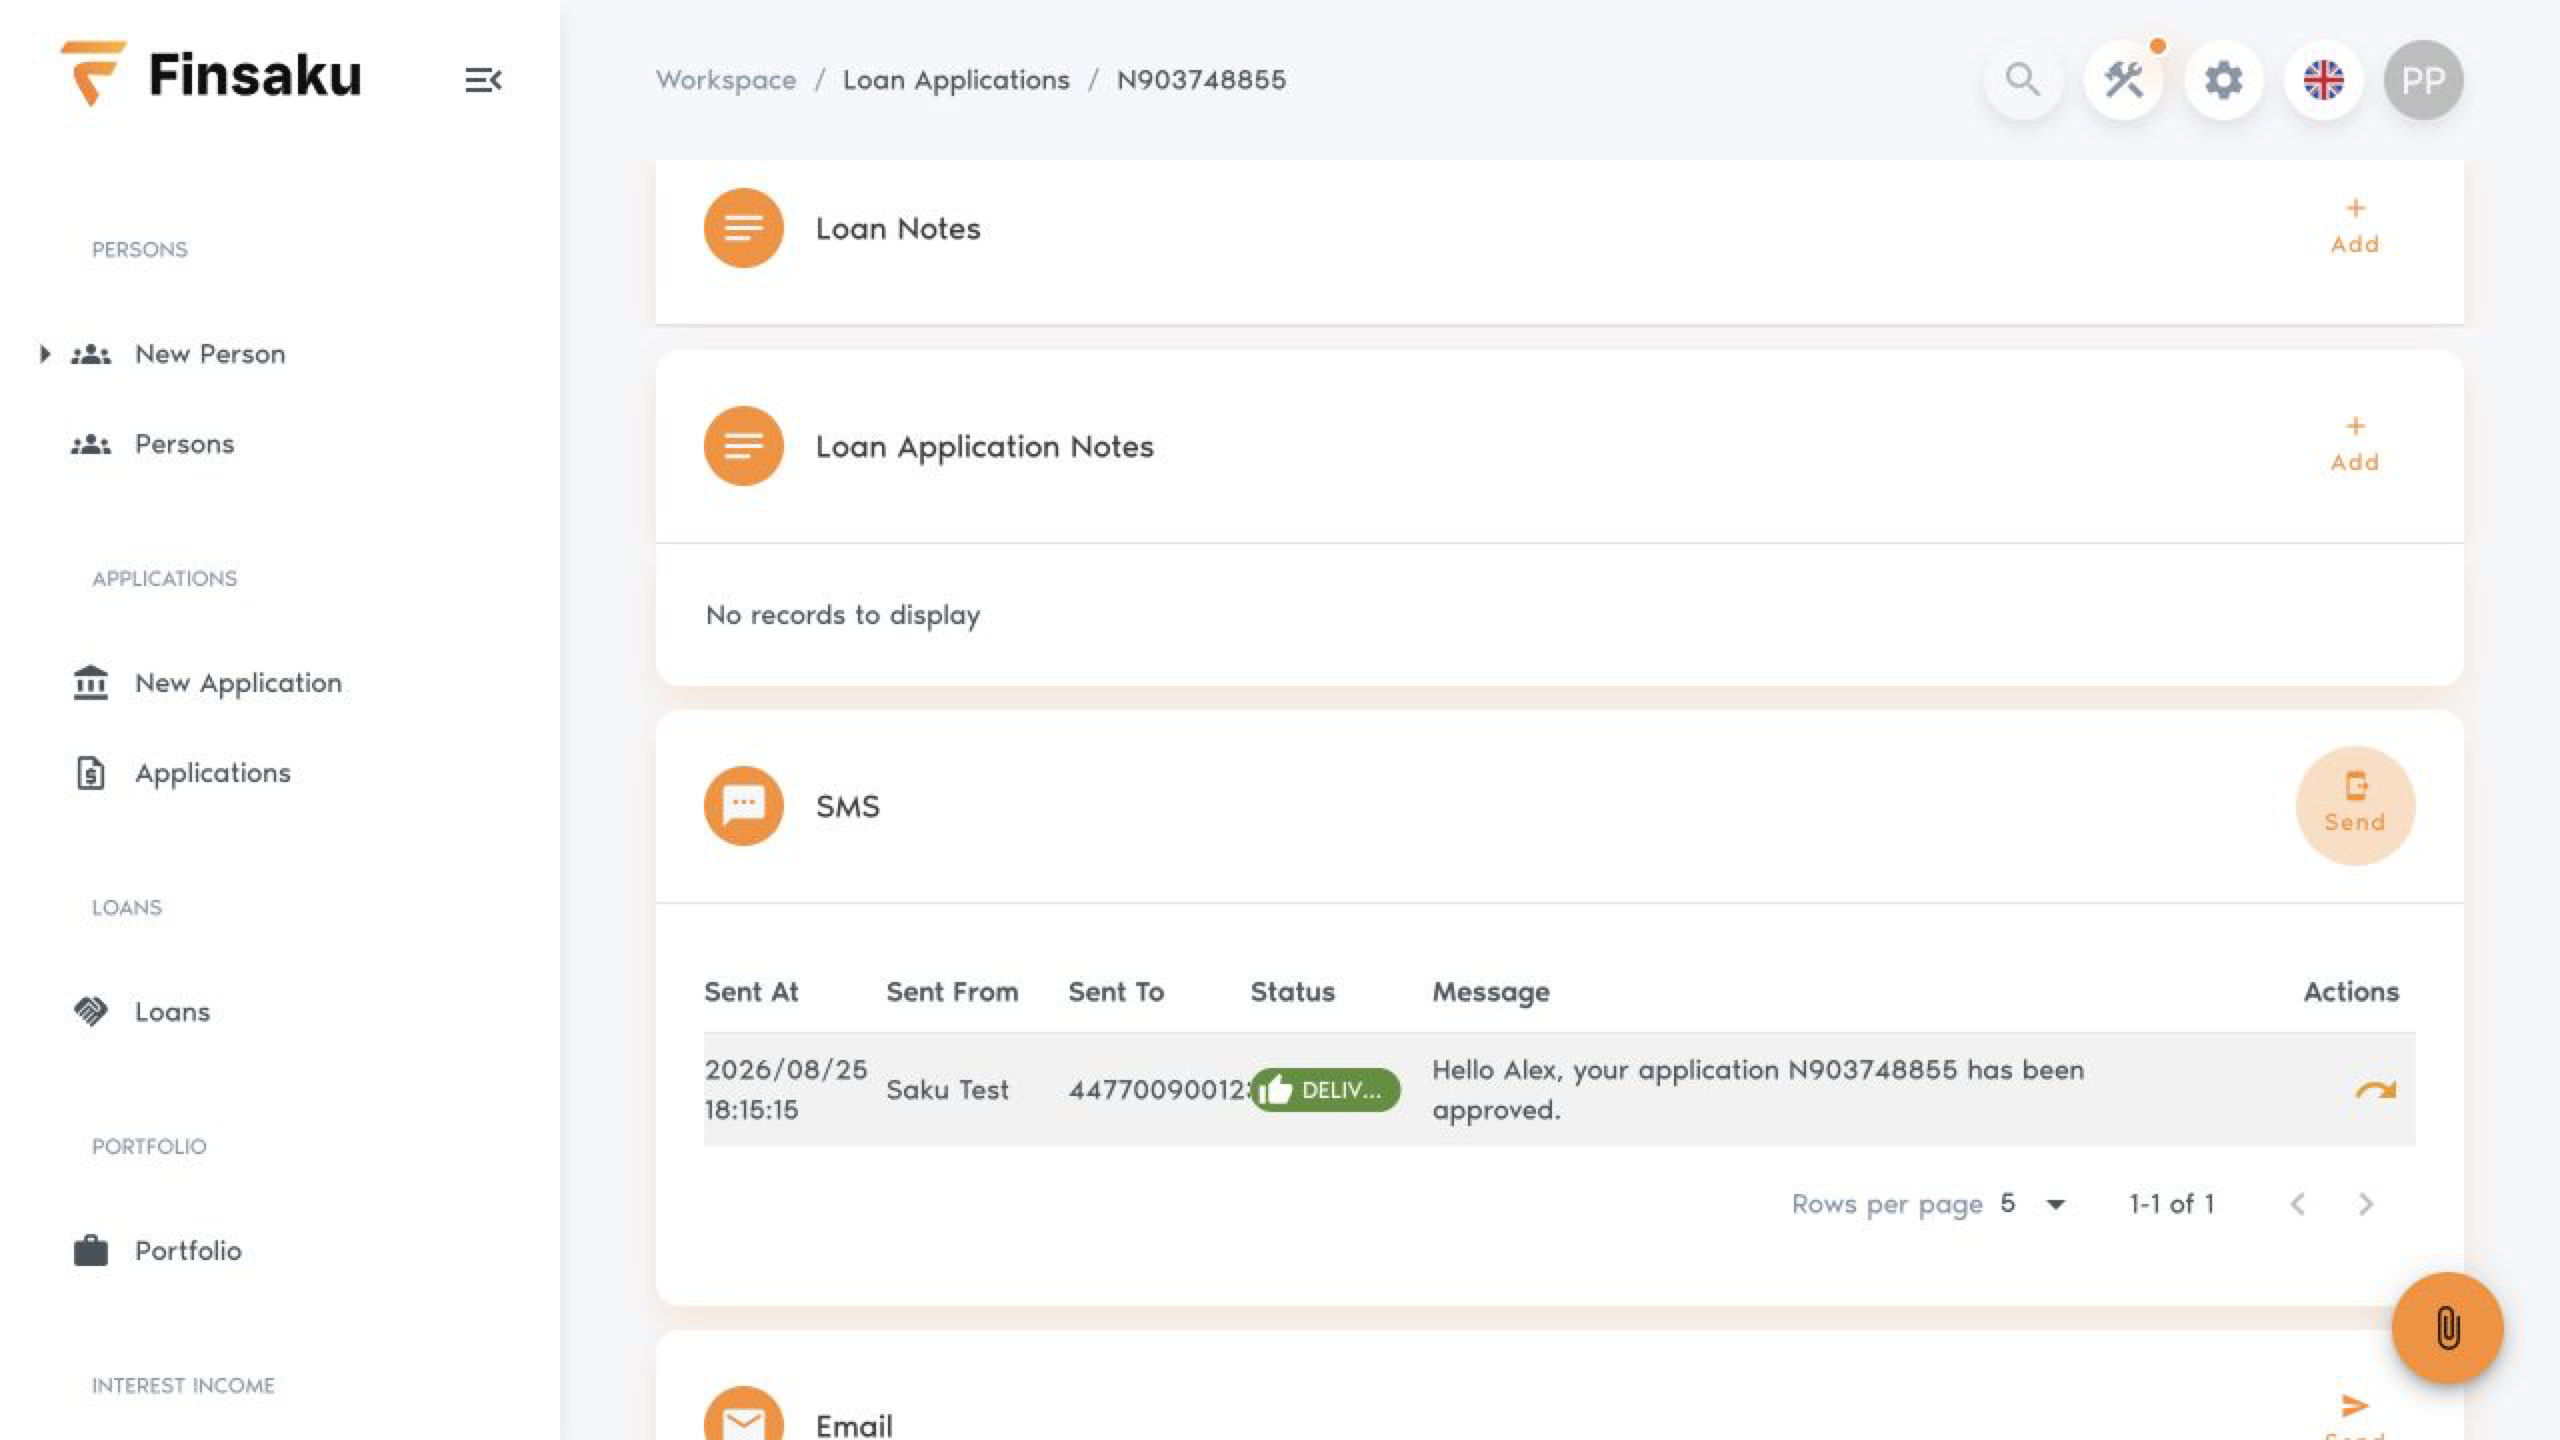
- Select Send SMS, choose the enabled SMS provider and Application approved SMS template, confirm the synthetic recipient and resolved text, then select Send once. The sent message appears in the application's communication history with its current status.
Selecting Send makes a real provider request. Check the resolved recipient and content before committing either message.
Troubleshooting
| What you see | Check |
|---|---|
| A template section or provider is absent | The corresponding integration is enabled and the user has the relevant template or send permission. |
| A field is blank or remains as a placeholder | Reload Preview Data with the same application reference and correct the exact path in the source template. |
| The agreement is not attached to the email | The email template's Generate and Attach selection and the enabled Document Generation integration. |
| A send result is uncertain | Check the application's communication history and provider evidence before sending again. |
Continue with Add event-driven triggers when the same outputs should run automatically after approval. Use Document and message templates for the full template reference.