Set up a lending product
This quickstart creates the catalogue group and first lending product that users can select to start an application. Selecting the product opens an application; it does not create a loan. A loan is created later by the lending step.
- For
- Product administrators creating the first selectable lending offer in a tenant.
- Requires
- Access to add product groups and products, plus access to New Application for the final check.
- Available when
- Add Product Group and Add Product appear in Administration.
- Before you begin
- Have the approved group and product names, unique ID codes, currency, calculator, and representative application terms.
- Expected result
- The product appears once under the intended group, has an active definition, and produces the approved calculation and expected fields in a controlled application.
| Quickstart point | This run |
|---|---|
| Estimated time | About 20 minutes for the initial product, excluding custom fields, templates, integrations, and organisation approval. |
| Starting state | No product or product group uses the intended ID codes, and the approved calculator is available. |
| Finish state | The new product starts an application, and its representative calculation and data-entry screen have been checked without creating a loan. |
Adding the product makes it available to applicable users and creates its initial active product version. Use a controlled tenant or an approved production change. Do not use an unfinished product for a live lending request.
Workflow
Create the catalogue group
- Open Administration and find Products.
- Open the Products more-actions menu and select Add Product Group.
- Set Parent to the root option for a top-level group.
- Choose an icon. In the visible Product name field, enter the group name users should see, then enter a unique ID code.
- Select Add.
- Confirm that the group appears in the product tree.
Use a group name that helps a Workspace user distinguish the offer. Keep its code stable after integrations, links, or configuration begin to reference it. See Product groups for child groups, moves, and deletion rules.
Add the lending product
- Open the new group's more-actions menu and select Add Product.
- Confirm that Parent contains the intended group.
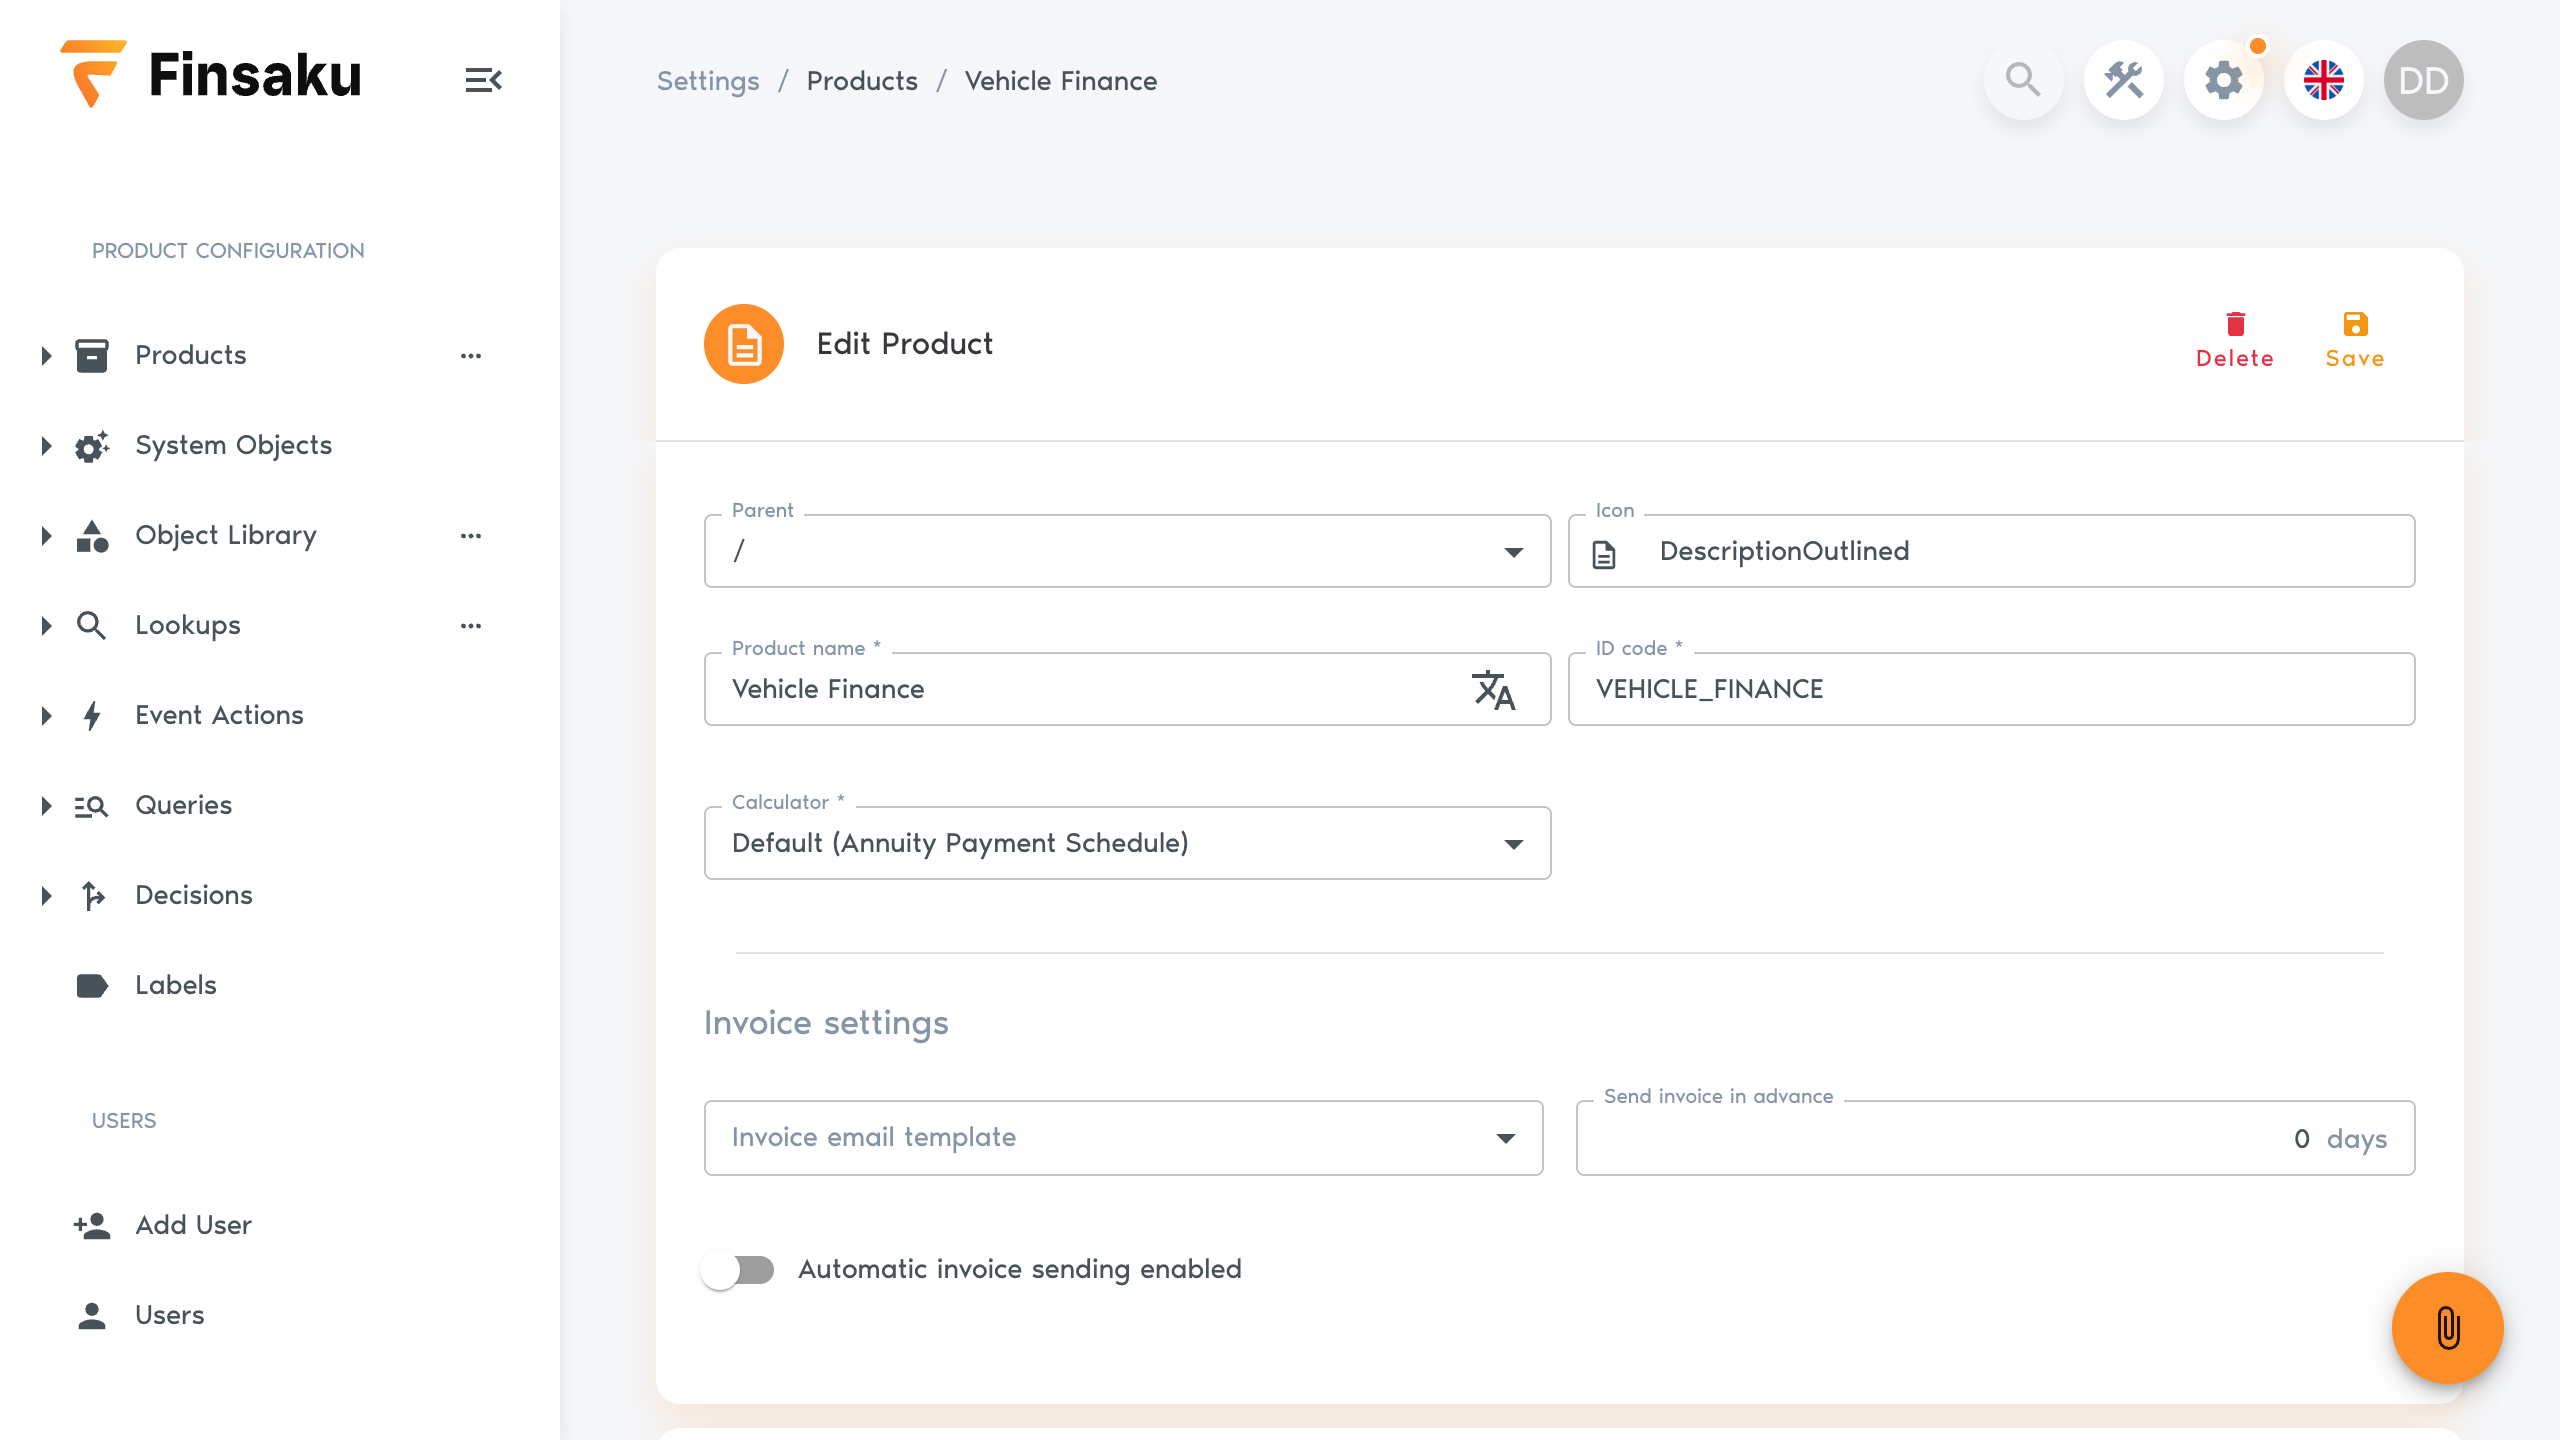
- Choose an icon and enter the displayed Product name and a unique ID code.
- If Product type appears, select Lending. The field is hidden when Lending is the tenant's only supported product type.
- Under Calculator, select Default (Annuity Payment Schedule), Default (Amortized Payment Schedule), or the enabled external calculator approved for this product.
- Select Add.
Choose the calculator by the repayment structure the product needs:
| Calculator | Use it when |
|---|---|
| Default (Annuity Payment Schedule) | The total scheduled instalment should remain broadly level while the split between interest and principal changes. |
| Default (Amortized Payment Schedule) | Principal should be repaid in equal amounts, so total instalments generally reduce as interest falls. |
| Enabled external calculator | A configured provider supplies the product-specific calculation. Set it up under Integrations → Loan Calculator before selecting it here. |
Finsaku creates an active, locked 1.0.0 product version with the product. When Enable product versions is on, confirm that the Product Versions list shows the version as Active. A locked version cannot be edited or deleted.
Adjust the initial definition when required
The generated active definition is enough to open the standard lending application. If the approved product requires different collected data or presentation rules, do not try to edit the locked version.
- In Product Versions, open the active version and select Copy.
- Open the copied New version.
- Set its Name and, if the product needs a custom summary, its Summary template. Add, remove, order, or configure the required object definitions and fields.
- Test the draft against the approved specification.
- Select Activate only after review.
Activation deactivates sibling versions and locks the selected version. Earlier applications keep their original definition. Use Versions and data collection before changing fields, keys, conditions, or summaries.
Verify the product in Workspace
- Open Workspace → New Application.
- If several products are available, find the new product under the expected group and select it. When it is the only available lending product, New Application opens it directly.
- Confirm that the application opens with the correct product name and default currency.
- Enter representative terms required by the calculator, then review the calculated summary and payment schedule.
- Confirm that the expected standard and configured fields appear and that mandatory or conditional fields behave as designed.
- Leave without selecting Save, Submit, Approve, or Lend unless the controlled test is authorised for the current tenant. Lend is the action that creates the loan.
The product selector proves catalogue availability. A successful representative calculation and field check prove that the selected calculator and active definition can start the intended workflow.
Before continuing, confirm that the product appears once in its intended group, one version is Active, and the name, code, calculator, currency, calculated terms, schedule, and collected fields match the representative application. If an external calculator is selected, confirm that it returns the expected result in the configured environment.
Continue with Configure collected data when the product needs more than its initial Description field. Then set up integration partners and documents and communications when the product needs generated agreements, email, or SMS. Templates are not required to continue with Process a first application.
Troubleshooting
| What you see | Check |
|---|---|
| Add Product Group or Add Product is absent | Confirm the tenant and the signed-in user's product permissions. |
| The product or calculator is absent during the Workspace check | Confirm the product group, active version, application access, and any required external-calculator integration. |
| Fields or calculation results differ from the approved design | Stop the test. Check the active version and calculator, then prepare and verify a corrected New version before retrying. |